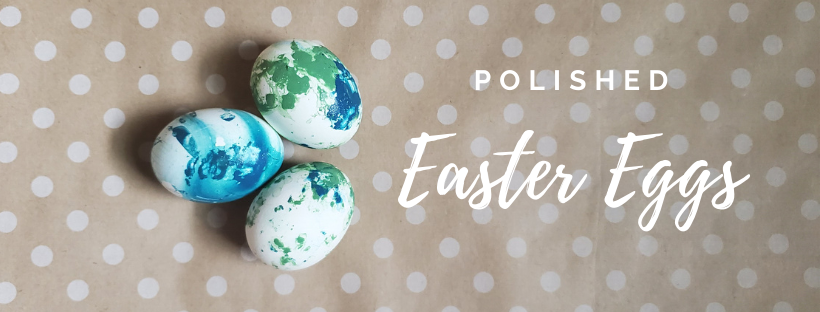
Polished Easter Eggs
Yes, this blog is about polished Easter eggs but keep reading...it might not be what you are thinking!
Last year, we posted a blog on how to naturally dye Easter eggs [you can check it out here]! So, this year we wanted to turn the tables a bit and show another way to decorate Easter eggs that doesn’t involve the “normal” vinegar and dye.*
The “polished” part of this is actually nail polish! Did you guess that? Over at Southern Living, they posted an article with different ideas on decorating Easter Eggs and we had to give this a try!
[We used Essie nail polish; Stripes & Sails & Mojito Madness.]
Here’s what you need:
- Disposable plastic container
- Hard boiled eggs
- Water
- Plastic spoon or fork
- Disposable gloves
- Nail polish
- Egg carton
And here’s what you do:
- Fill a plastic container with water that is at room temperature.
- Drizzle nail polish into the container and swirl around with plastic utensil.
- Place egg into the mixture and swirl around the mixture.
- Lift egg out of the water and place in an egg carton to dry.
- Repeat with the rest of the eggs (add more nail polish if necessary or add another color to mix it up).
Simple, right?
We hope you have fun with your Easter traditions this year and make lots of memories! And if you need any help getting your yard ready for Spring – call or email for a free estimate!
717-285-2750 | info@indianrunlandscaping.com
*Please note, these eggs are for decorating and we wouldn’t recommend consuming.
Leave a Reply